How to Prevent Lint in Hairbrush and Easy Cleaning
In this blog, I share 11 ways to prevent lint from building up in your hairbrush and 5 easy cleaning steps.
11 tips to prevent grey lint in your hairbrush
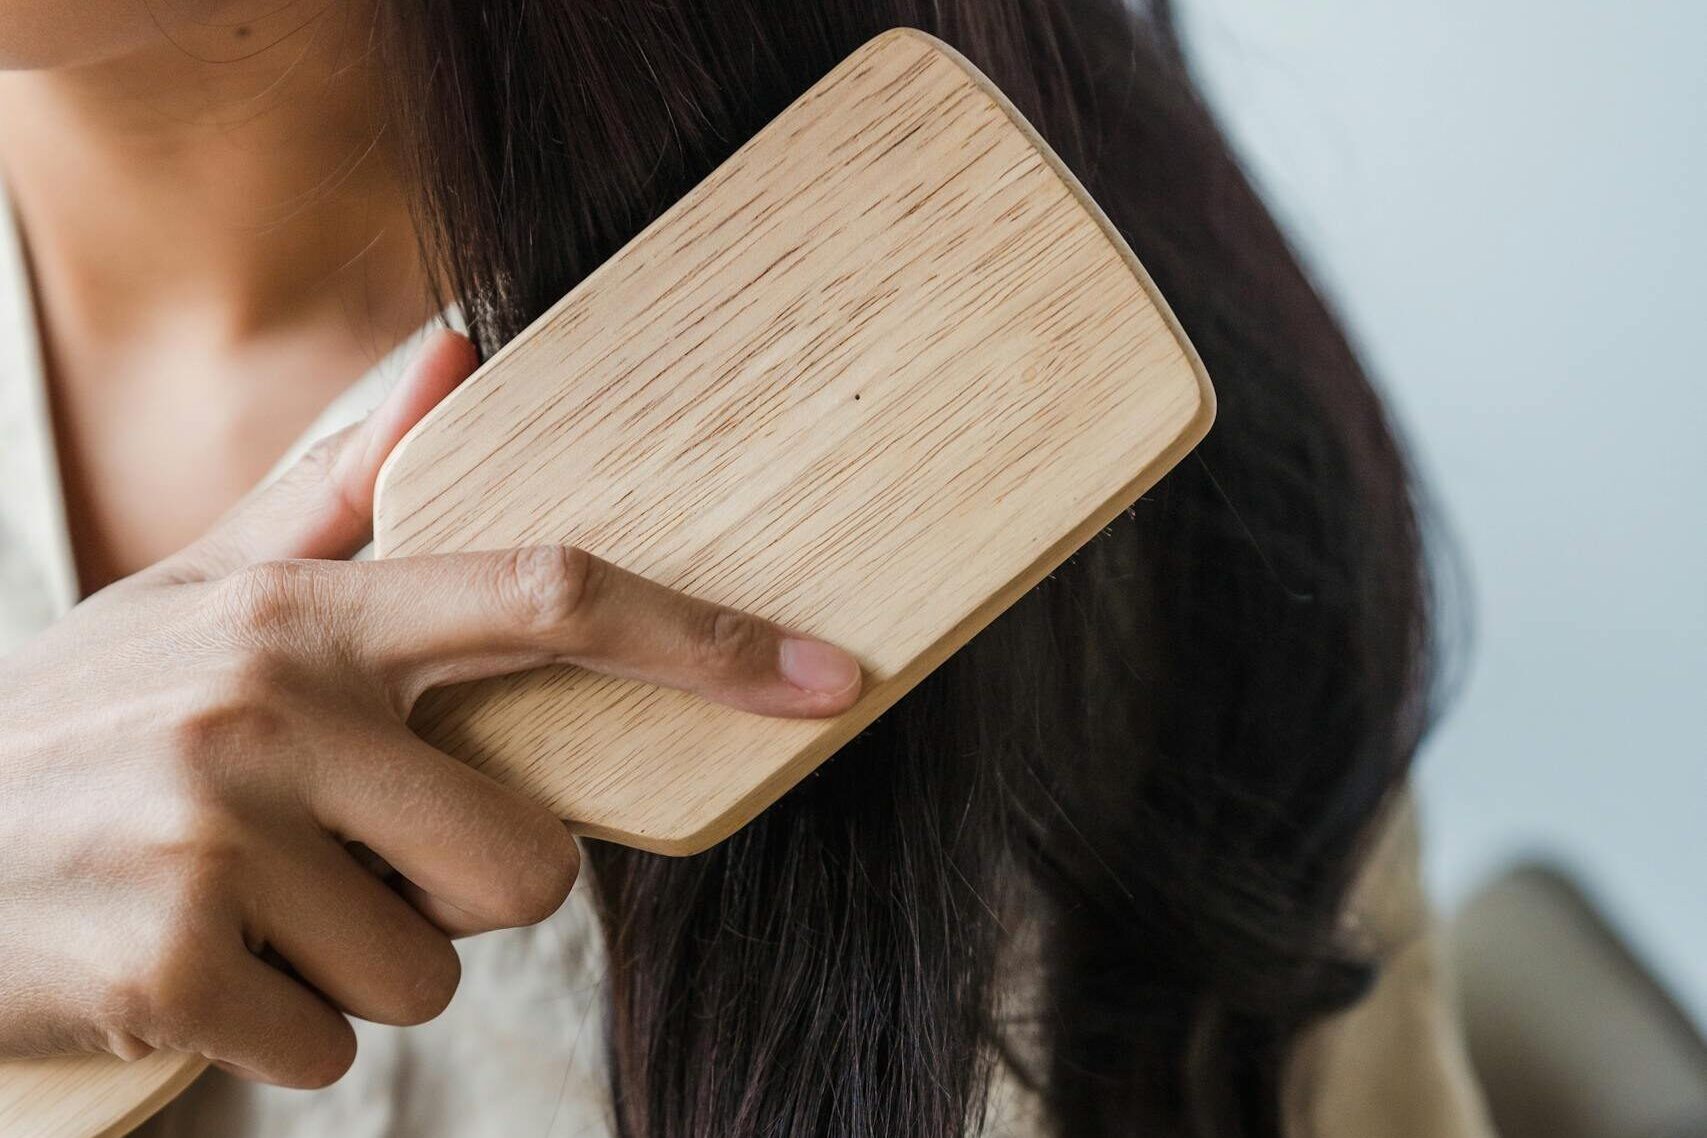
A clean hairbrush can make a world of difference in how your hair looks and feels. However, brushes tend to accumulate lint, hair, and other debris and product build-up, especially when used regularly. Here’s how to clean your hairbrush effectively, incorporating regular cleaning, protective measures for hair, and proper storage to keep it lint-free and in great condition.
1. Regular Cleaning of Your Hairbrush
Remove Hair After Every Use
The first step in cleaning your hairbrush is removing hair. Regular cleaning means getting rid of the hair stuck between the bristles after each use. This is essential to avoid buildup that can attract lint and dust. You can easily do this with your fingers or use a tool like a rat-tail comb or a specialized brush cleaning tool. If you have long hair and lose a lot of hair, this is especially important to do.
Pro Tip: Use a wide-tooth comb to gently slide between the bristles and loosen hair stuck in tight spots.
Wash the Brush Regularly
Soaking your brush in warm water with a little shampoo or mild soap is a great way to loosen gray lint and any product buildup. For wooden brushes, avoid submerging them completely. After soaking, gently scrub with a toothbrush to remove debris. A good rule of thumb is to clean your brush once a month or more often if needed.
Tip: Don’t forget to clean the base of the brush, as lint can gather there too.
2. Protective Measures for Hair
Use Anti-Static Products
Static electricity is one of the main reasons lint sticks to your hairbrush. Using anti-static products, such as a leave-in conditioner or anti-frizz spray, can help prevent static buildup and reduce the amount of lint in your brush.
Pro Tip: Keep your hair clean by washing it regularly with lightweight products to prevent oils and hair products from attracting extra lint.
3. Store Your Brush Properly
Keep Your Brush in a Clean, Dry Place
When not in use, always store your brush in a clean, dry place to avoid exposure to lint and dust. A brush holder or protective pouch can also keep your brush safe from debris in the air.
Cover your brush with a protective cap or pouch, especially if you store it in an area prone to dust and lint.
4. Use the Right Type of Brush to Prevent Lint
Choose a Brush with Tightly Spaced Bristles
If you want to reduce lint buildup, choose a brush with tightly spaced bristles. Brushes with wide gaps between bristles tend to collect more lint and hair. Opting for a brush with smaller gaps will make it easier to clean and keep lint-free.
Natural Bristles Help
Using the right type of brush can help you to reduce that gray fuzz. Switching to a boar bristle brush may help reduce lint attraction. Natural bristles generate less static than synthetic bristles, which can keep your brush cleaner for longer. Natural fiber is also gentler on the hair than synthetic materials, providing an added benefit for both your hair and brush.
5. Avoid Lint-Prone Environments
Be Mindful of Where You Use the Brush
If you use your brush in areas that are prone to lint, such as near certain fabrics, pet areas, or in bedrooms with soft furnishings, the likelihood of lint transfer increases. Try to brush your hair in a controlled space to avoid unnecessary lint accumulation.
Maintain Clean Spaces
The environment where you use your brush plays a big role in lint accumulation. Regularly vacuuming and dusting the area where you store and use your hairbrush can help reduce lint buildup. Clean spaces equals cleaner brushes!
6. Use a Lint Roller for Quick Clean-Ups
Quick Fix
If you don’t have time for a full cleaning session, use a lint roller to remove excess lint, hair, or dust from the bristles. The sticky surface of the roller makes it easy to pick up stray debris quickly and efficiently.
7. Clean Your Hair First
Brush After Hair Care
When applying natural oils, creams, or gels to your hair, can make your hair more likely to attract lint. To prevent your brush from getting coated with product, consider brushing your hair first, and then applying products afterward. This will keep the brush cleaner and help reduce the risk of lint buildup. This is especially important when you are using a brush from natural materials, as oily hair and product build-up will stay in natural brushes more easily than synthetic brushes.
8. Think About Your Hair Care Routine
How much product you use for your hair also affects the amount of lint in your brush. If you use dry shampoo, it not only builds up in your brush but also affects your hair and scalp conditions. If you have skin irritation, you’re more likely to have gray lint buildup. Therefore, take good care of your hair health and also your scalp health.
Your hair care routine alone however is not determining how healthy your hair and scalp will be. This interesting research shows that your type of hair also influences scalp health.
9. Use Dryer Sheets for Static Control
Static Control
A dryer sheet can work wonders to reduce static buildup. Lightly rub a dryer sheet over the bristles of your brush to prevent static that attracts lint. You can also keep a dryer sheet in your brush storage area for extra protection against lint and dust.
10. Use a Hairbrush Protector
Cover the Brush
When storing your hairbrush, especially in areas where lint and dust are common, use a hairbrush protector. A small protective cover or pouch keeps your brush safe from debris while not in use.
11. Consider a Brush with a Detachable Bristle Pad
Ease of Cleaning
Some hairbrushes come with removable bristle pads that can be cleaned separately. These types of brushes are often easier to maintain and will help you keep lint at bay. Being able to remove the bristle pad allows for a more thorough cleaning.
Cleaning Your Dirty Brush: Step-by-Step Guide
If your hairbrush has accumulated lint, here’s how the cleaning process can be done effectively:
1. Remove the Hair
Start by removing any hair from the bristles. This is the most common breeding ground for bacteria and can attract lint.
Pro Tip: Use a rat-tail comb or scissors to pull the hair out.
2. Soak the Brush in Warm Soapy Water
Soak your brush in warm soapy water to loosen lint, oils, and other buildup. A mild shampoo or dish soap works well for a brush soak.
Tip: Don’t submerge wooden brushes for too long in too hot water—just dip the bristles and clean gently.
3. Scrub the Bristles
Use a soft clean toothbrush to scrub between the bristles. This helps dislodge any stubborn lint.
Pro Tip: Add baking soda mixed with clean water for tough buildup.
4. Clean the Brush Base
Don’t forget to clean the base of the brush, where lint can also accumulate. Use a cloth or toothbrush to wipe it down.
5. Rinse and Dry the Brush
Rinse the brush thoroughly and let it dry. Avoid using a blow dryer, especially for wooden brushes.
Additional Tips for Maintaining a Clean Brush
1. Regular Maintenance
Cleaning your brush regularly will prevent excessive lint buildup. Cleaning it every 2-4 weeks is ideal, but if you use it daily, remove hair and lint after each use.
2. Use a Lint Roller for Quick Clean-Ups
For a quick clean, use a lint roller over your brush to remove surface-level debris.
3. Avoid Harsh Chemicals
Avoid using strong chemicals like bleach, as they can damage your brush. Stick to gentle, natural solutions.
4. Types of Brushes
Boar bristle brushes require more delicate care but are gentler on hair, while plastic and nylon bristles are easier to clean.
By following these steps and tips, your hairbrush will stay cleaner and lint-free for longer. Regular maintenance, proper storage, and the right brush type can make all the difference. Keep your brush in top shape and enjoy smoother, cleaner hair every day!
Did you ever wonder if you can cut men’s hair yourself? Read along to learn it in 3 simple steps.