How to dry orange slices in the oven for decoration
Let’s learn how to dry orange slices for your Christmas decorations in the oven with a few simple steps! This ultimate guide will show you how easy it is to create your own stunning, natural ornaments. Take the Christmas season to slow down and enjoy making your own beautiful decor today. With just a few oranges, a little time, and a few basic steps, you’ll have vibrant citrus wheels to add that perfect touch to your holiday decorations!

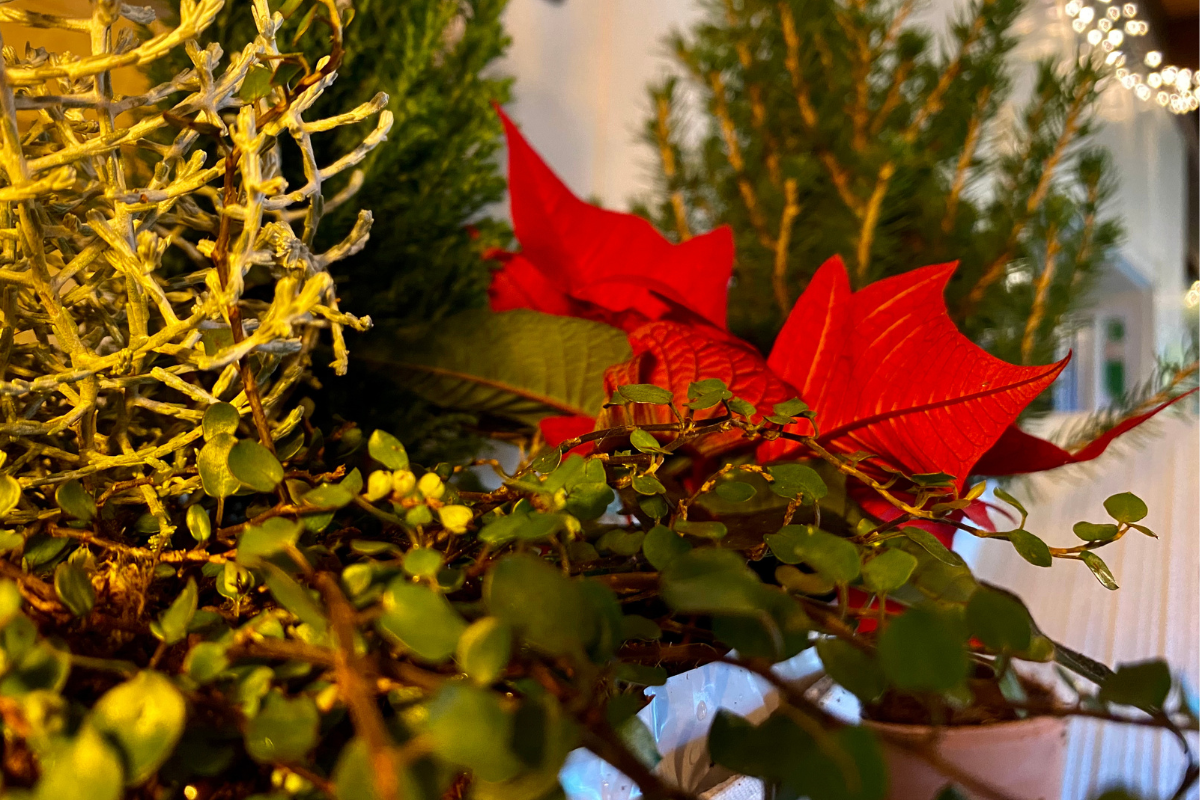
Natural Christmas Decoration
In order to give our home a cosy vibe during the holidays, I love adding Christmas decorations. Dried orange slices are a great way to use natural materials in your decor. These beautiful citrus slices add warmth and charm, creating a perfect touch for festive decorations. They look cute, smell amazing, and are 100% biodegradable, making them eco-friendly and sustainable.
I love knowing that if my baby catches some decor when we look away for a few seconds, she won’t chew on glitter or plastics. Dried oranges are a safe, natural option for homes with little ones. If you have older children, this is a simple way to get them involved in decorating together. You can make dehydrated oranges as a fun family activity during the winter months.
The drying process of oranges is quite easy and can be done using the oven method. Simply slice the oranges into round shapes and place them in a low oven. This method ensures they dry evenly, creating a beautiful set of Christmas decorations that will last. One of the best tips is to use fresh, firm oranges for a perfect result.
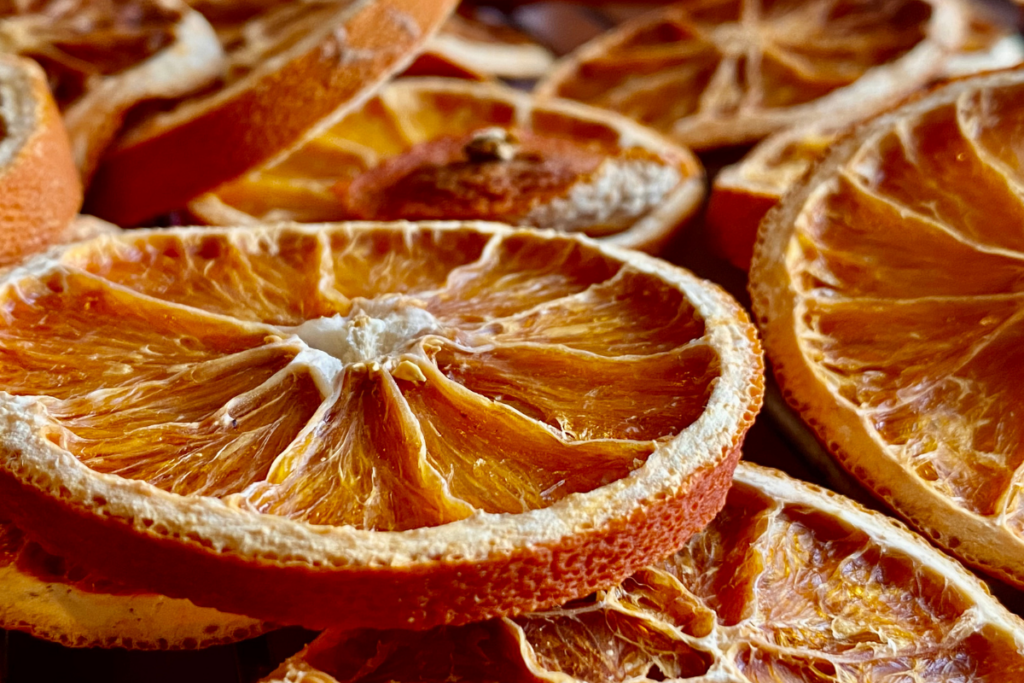
Different types of oranges can work for this project, but the classic navel orange is a great choice. These dehydrated oranges have a vibrant color that makes them stand out as festive decorations in your home during the holiday season.
How do you prepare your orange slices to dry them in the oven?
Orange slices will dry anywhere that’s warm and dry. You can choose to hang them above a radiator and wait a few days, but using the oven definitely speeds up the process. The low heat from the oven helps preserve the bright colors of citrus fruits, giving your dried orange slices a beautiful, vibrant look.
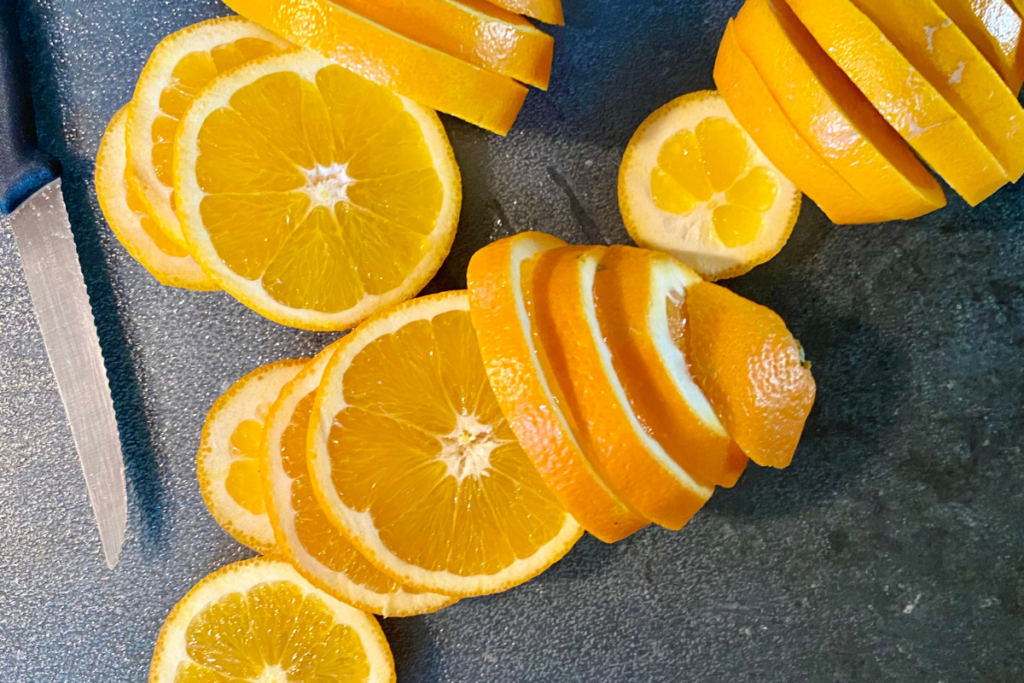
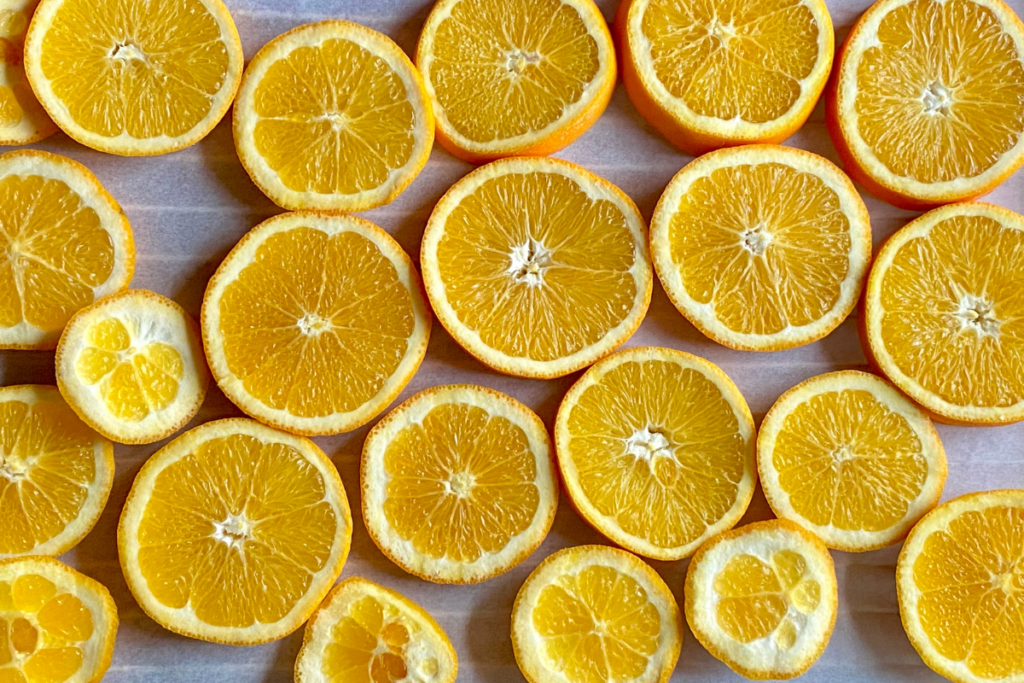
Slice your fresh oranges into thin 2-inch slices (about 0.5 cm). Using a very sharp knife ensures clean cuts, preventing the slices from tearing. While regular oranges work great, you can also switch it up with other types of oranges like blood oranges. For a fun twist, try lemons, limes, or grapefruits for some cute different colors. These slices of oranges add variety and charm to your holiday decorations.
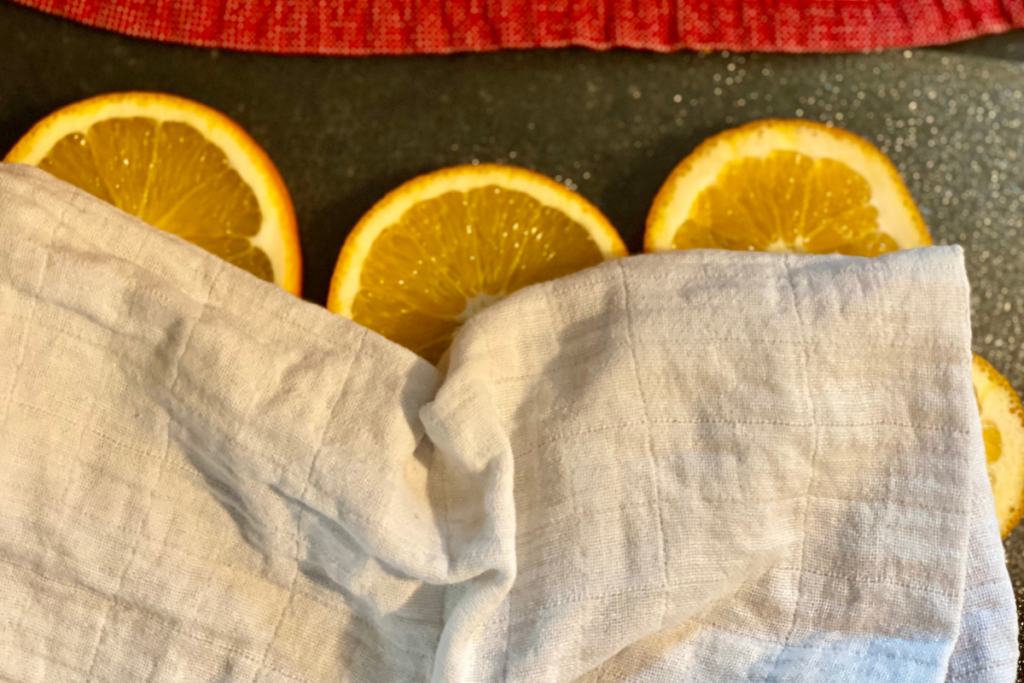
Dry the orange slices decently before adding them to the baking tray. This step is optional, but removing excess moisture will speed up the baking process. It’s the easiest way to ensure the slices dry evenly. I like to use a clean cloth to dry them off, but you can also use a paper towel. The less moisture left on the slices, the quicker and better they will dehydrate.
Place the orange slices next to each other on a baking tray in a single layer. Using parchment paper or a baking sheet is optional, but it helps prevent sticking. If you don’t use parchment paper, the slices may develop a pattern, kind of like a burger with barbecuing, if they aren’t turned often enough. Lining the tray ensures they dry evenly without sticking together.
How to bake the orange slices
You can place multiple trays into your oven at once. Bake the orange slices at 100°C or 200°F with circulating air for even drying. If your oven allows, you can place a wooden spoon in between the door to let excess moisture escape. This is a great trick to speed up the drying process. Otherwise, the moist air will escape when you turn the slices every 30 minutes to ensure they dry evenly.

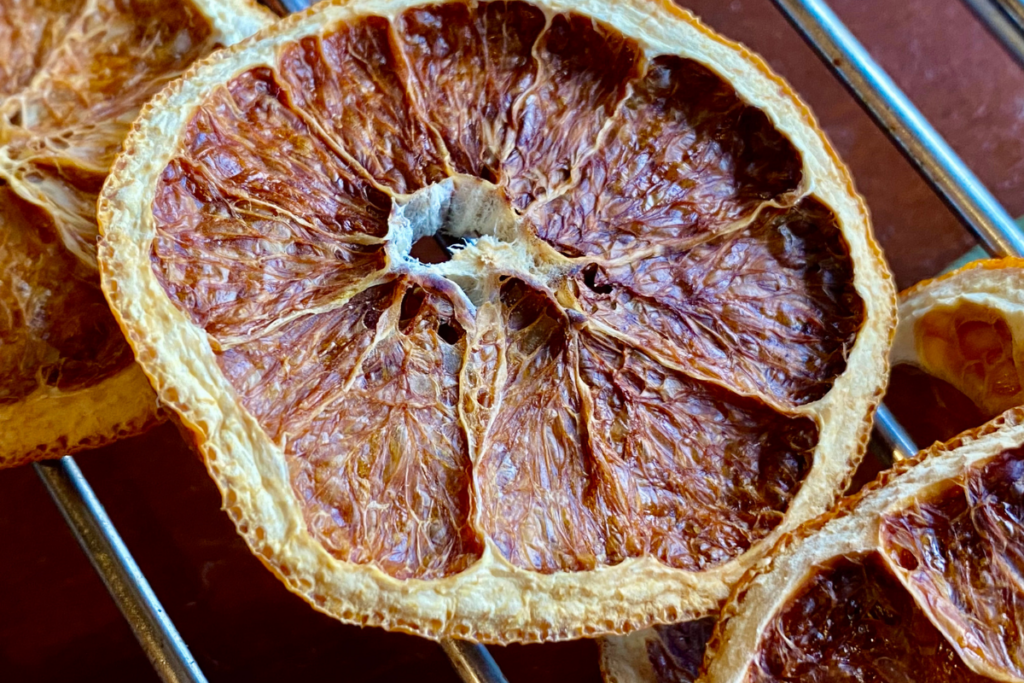
It really depends on your oranges, your oven, and how many trays you use to determine how long you need to bake them. My dry oranges were ready in about 4 hours, but it might take less or more time for yours. You can take a break if you need the oven for something else and continue drying them when you’re ready again. If you bake them longer, they will get a darker color, but if you stop earlier, they’ll keep their original color. One of my favorite ways to finish drying them is by placing the slices on a baking rack or wire rack to cool. This ensures they stay crisp and fully dehydrated.
Storing dry orange slices from the oven
Depending on how dry they are, you can store them in a closed glass container for a very long time, even for years. The best method to check if they’re dry enough is if they break with a crack when you bend them. Another option is hanging them somewhere dry, but keep in mind that they will collect dust eventually. For the best way to store them, a dry place at room temperature works well. You could also use a plastic bag for easy storage, though keeping them in a dark place will help preserve their color. If you store them properly, dried oranges have a long shelf life and will last until next year. The perfect time to enjoy them is during the holiday season, but they’ll stay fresh for months!
If you want to dry the orange slices in the oven for consumption, I would be very mindful of how you store them. Ensure they’re truly dry enough so they don’t catch mold. The best way to prevent this is by checking for any excess moisture before storing. In this case, you should use them within the next few weeks for teas or baking. Storing them properly will help preserve their flavor and prevent any spoilage.
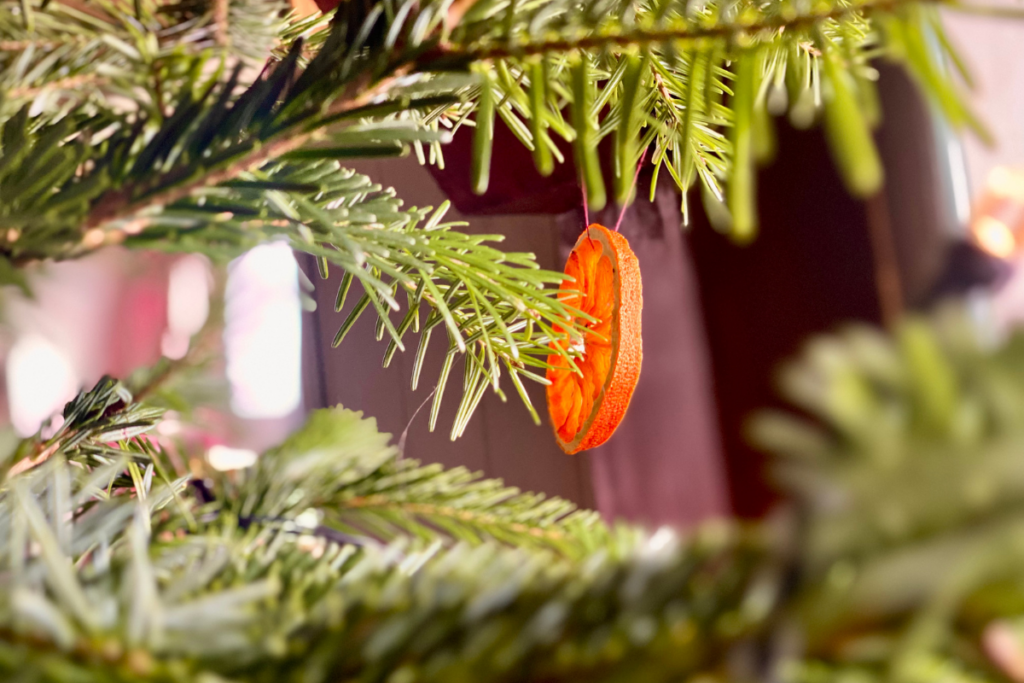
How to used oven dry orange slices for decorating
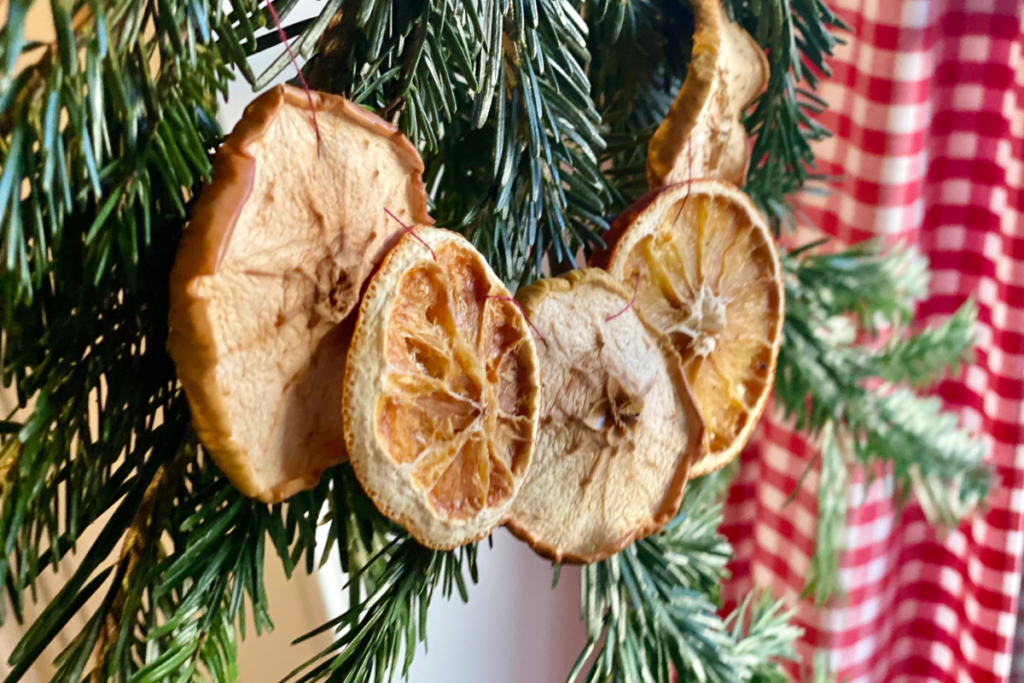
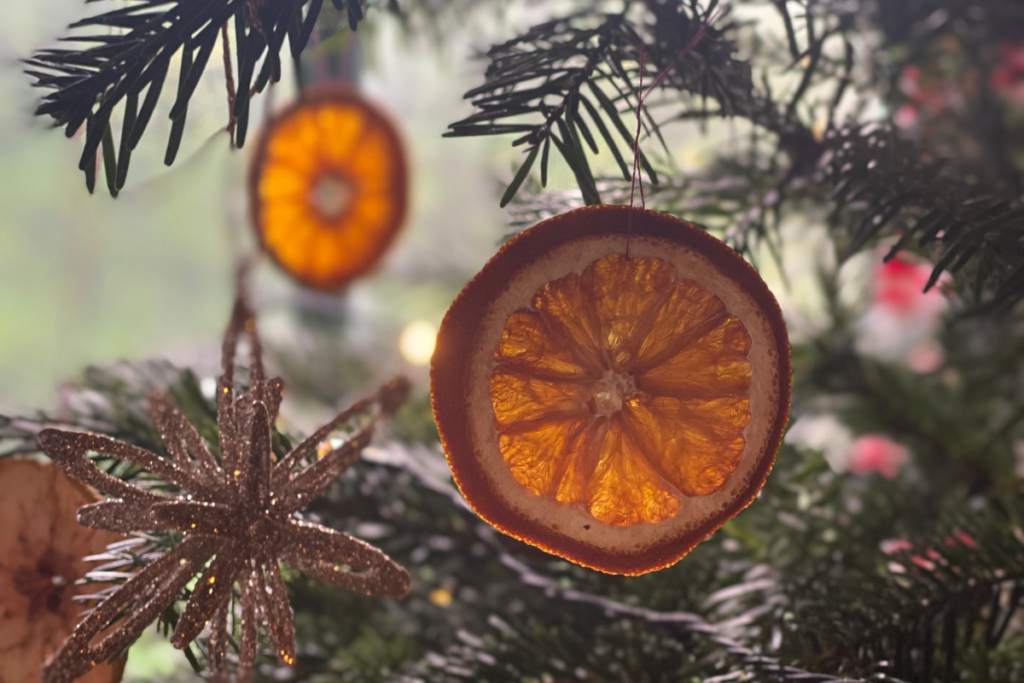
Orange slices look pretty on their own, but you can also make a little ‘bracelet’ with them and hang it somewhere. Personally, I think they go best together with fir branches from your Christmas tree. The vibrant color of the citrus wheels adds a pop of warmth to your holiday decor. I also dried apple slices and used them together to create a natural Christmas garland. These dried fruits make great additions to your Christmas ornaments. Orange garlands and dry fruit combinations give the best results for a cozy, festive feel.

Whatever you choose to do with them, keep in mind that they don’t only look beautiful but also smell amazing! The natural scent of citrus fills the air, adding a refreshing and cozy touch to your home. It’s the perfect way to create a warm, inviting atmosphere during the holiday season.
In conclusion, dried orange slices are a beautiful and eco-friendly addition to your holiday decorations. Whether you’re creating a festive garland, using them in your baking, or simply enjoying their natural scent, they offer a charming touch to your home. The drying process is simple, and with a little care, you can create long-lasting decorations that brighten up the holiday season. Plus, their vibrant color and lovely fragrance make them the perfect natural Christmas ornaments. So, get creative and enjoy the process of making these delightful citrus wheels a part of your celebration.
Recipe card of oven-dried orange slices
Oven dried orange slices

Dried orange slices are perfect for decorating your home with something that looks great but also smells amazing!
Ingredients
- 4-5 oranges
Instructions
- Preheat the oven at 200° F (100° C)
- Cut the oranges into 2 inches (0,5cm) slices
- Dry them of with a towel (or paper towel)
- Pace the slices on a baking tray (baking sheet is optional)
- Bake them for 3-6 hours and turn every 30 minutes
- They are ready when they start to get hard
Wondering how to celebrate Christmas as a Christian family? Check out my blog for thoughtful tips and encouragement to make your holiday season meaningful and special!
Here are 6 wonderful ideas for beautiful natural Christmas decor that will bring warmth and charm to your home this holiday season!
What’s your favorite self-made Christmas decor? Whether it’s a handmade wreath, dried fruit garland, or something else, I’d love to hear all about it! Share your ideas in the comments – I can’t wait to be inspired by your creativity!